
I have been in love with acrylic paintings since I was young. They have a lot of wonderful qualities. Acrylic painting is perfect for someone who is just getting started with painting, as well as for more experienced artists.
Now that I am a mum, I would like my children to experience some form of art in their lives too. What is Earth without the “ART” in it, right? Since my favourite type of art is using acrylic material, I would love to share some ideas for you to try out too!
First off, you will need a surface to paint on – canvas, cardboard and wood all work great. Avoid paper as it is too thin, and if you use acrylic paint on a regular piece of paper, the paper will curl up and lose its shape.

Canvas boards are great for practice, especially when you are starting out, and they are not as expensive as a stretched canvas.
My favourite size to play and have fun with is 16×20 inches. It’s not too small, but also not so big, so it’s manageable. I bet it will be suitable for your kids too.
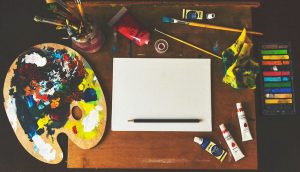
You will also need some brushes. I like to browse through and really feel the brushes that I am buying. You would want to get several sizes. I like to have one large flat brush, one medium flat, one small flat, a small round brush, and a medium round brush. You don’t want brushes that are too soft for acrylic painting, because the paint is heavy.
You can get all these art supplies at your nearest local art store if you have one. But if you don’t, you can always get them online!
There is a variety of them to choose from. Choose the most suitable and affordable to you, as these materials could end up exceeding your budget. Here’s a tip for you mummies, get them when they are ON SALE!
I also enjoy using the following brands: WINSOR AND NEWTON, ROYAL AND LANGNICKEL, and PROARTE, although I am sure that there are plenty of brands out there that are both great quality and affordable.
Other than that, you’ll also need a palette: something to put your paint on. I like to reuse paper plates, styrofoam containers and other such stuff.
That’s what there is to it in terms of supplies. Here are some wonderful step-by-step directions for painting with acrylics for you and your family to try:
Balloon & Acrylic Painting on Canvas


Materials:
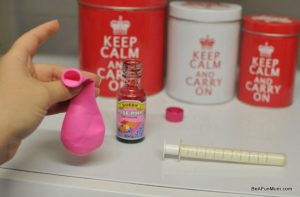
- Balloons
- Food colouring (the lighter colours look best: yellow, pink, orange)
- Acrylic paint (variety of colours)
- Paintbrush
- String
- Large canvas
Instructions:
Step 1: Add food colouring into the balloon. (The best way to get the food colouring into the balloon is by a dropper or a medicine syringe).

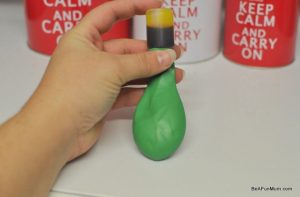

Step 2: Blow up the balloons. (Blow up the balloons and set up outside).
Step 3: Set up outside. (Place the canvas on the grass and use a portable clothes rack or a piece of string to hold the balloons on top of the canvas).
Step 4: Pop the balloon. Kids will surely love this part. Tie the balloon on a string (or just hold it) over the canvas. Use something sharp (I used a toothpick) to pop the balloon over the canvas.
Step 5: Lines. If you want some streaky lines, pick the canvas up and roll in different directions.
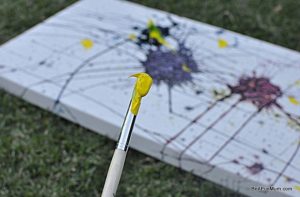
Step 6: Paint. You don’t need to wait for the food colouring to dry properly, just paint right on top. Put a big blog of paint on a piece of cardboard and use a paintbrush to flick it onto the canvas.

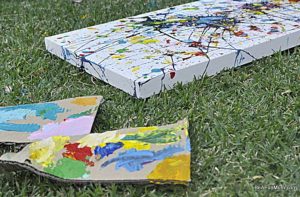

Step 7: Dry the canvas on a flat surface for about 24-48 hours.
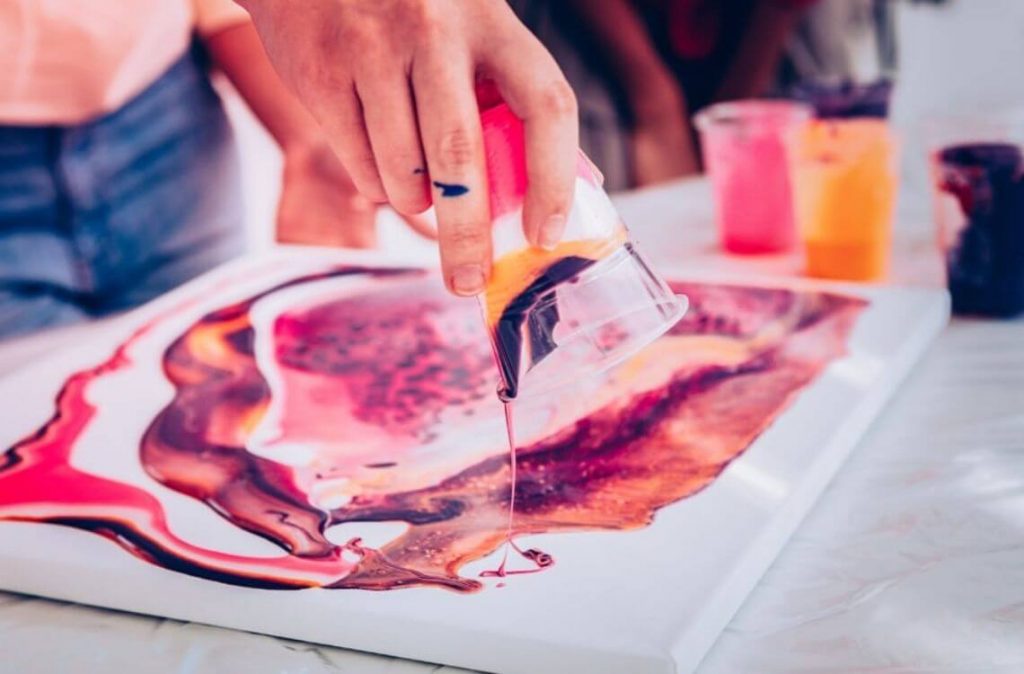
Pouring & Dripping Acrylic Technique


Materials:
- Fluid acrylic paint (variety of colours)
- Double-primed, linen canvas
- Various-height stools
- Large basin
Instructions:
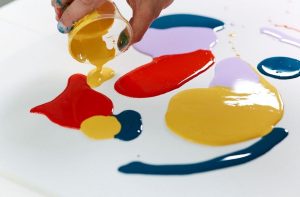
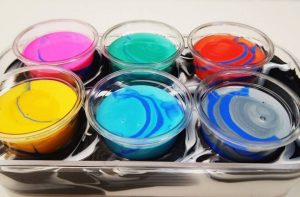
Step 1: Pour the fluid acrylic paint onto double-primed, linen canvas. (You can use cups filled with multiple acrylic paints)
Step 2: The canvas must be stapled onto various-height stools to encourage it to dip down in one spot, where the paint ran off the canvas into a basin.
Step 3: Have fun dripping more colours onto it to cover all empty spots!
Step 4: Dry the canvas on a flat surface for about 24-48 hours.
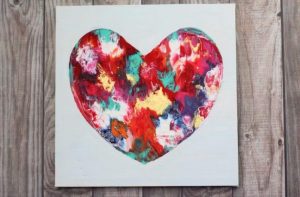
Heart Acrylic Paintings Using Cling Wraps

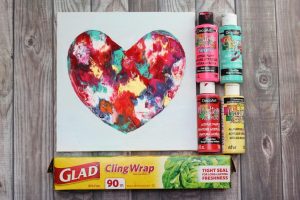
Using cling wrap in art might sound strange to you, but it really creates some awesome looking effects. Plus you probably have some laying around in your kitchen right now!
The “cling wrapped” paint art will end up looking like a cross between the popular pour-painting (drip-art) like above and tye-dye.
This painting technique, in particular, is fun for the kiddos. My kids LOVED this one and helped with spreading to paint.
And of course, ZERO MESS!
Materials:
- Canvas
- Standard acrylic paints
- Cling Wrap
- Contact paper
Instructions
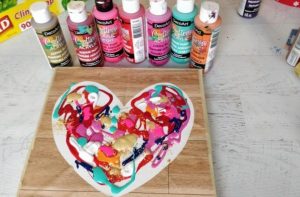
Step 1: Add your heart stencil (see above) to the canvas. squeeze some paints onto the white part of the canvas.

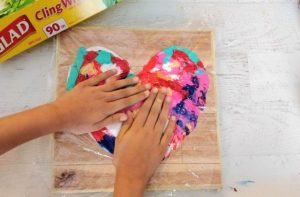
Step 2: Cut a generous size of cling wrap (enough to cover the canvas), and place it over top of the heart. Now the fun part! Use your hands and move the paint around (Your kids sooo gonna love this!)

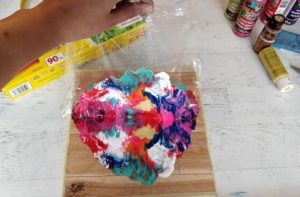
Step 3: Once you’ve had some fun squishing and moving around the paint (clean hands and all!), time to lift up the cling wrap to reveal your masterpiece!

Step 4: Peel the contact paper off your canvas. If there is some “bleed-through” paint outside the heart border, simply let it dry and paint over it with white acrylic paint.

There is so much more that you can do with acrylic! Get creative and bring out the artist in you. Don’t get too serious about it or you will lose the fun. Just get on with it and have fun with your kids instead.
If you really love doing art and want your family to enjoy them too, you should totally try these ideas out mummies.