
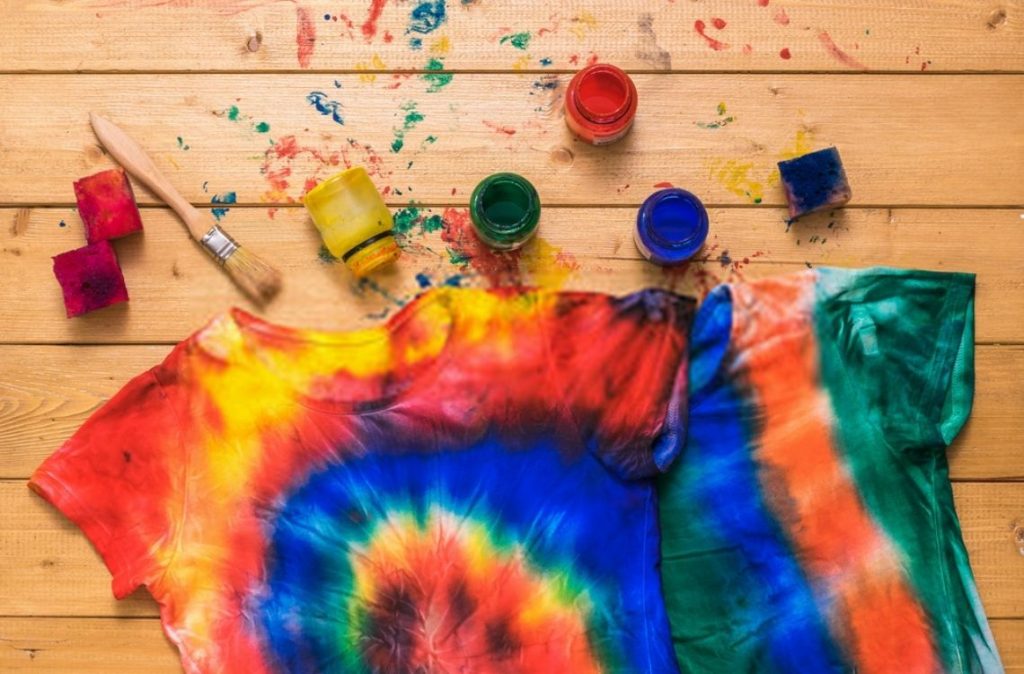
The kids love tie-dye, and lucky you, we got you covered from dye to the bleaching processes. MCO can be boring, but this is a simple and fun craft that you can do at home right away!
Family bonding is one of the most important aspects that holds a happy family together.
In light of the pandemic, we are advised to stay at home unless we have an important matter to go out.
Your kids might be bored with their everyday routine. So this fun activity will keep your kids entertained!
Tie-dyes can be messy, but it will help to bring out the inner creativity and personality of your children.
Worry not, these steps are easy to follow and the outcome is going to be fantastic!
What You Need:
- White Shirts or other objects to dye – 100% cotton white shirts work best!
- Tie-Dye Kit
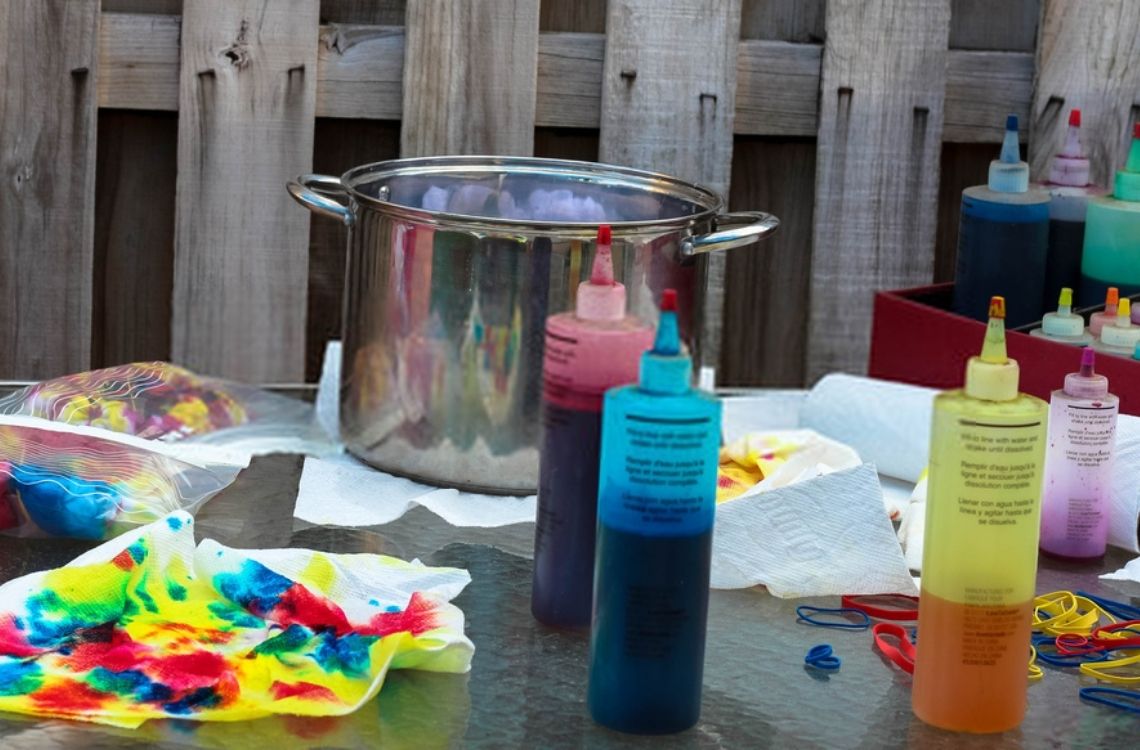
- Rubber bands (lots of it!)
- Gloves
- Old clothes to wear while doing tie-dye
- Plastic bags
- Wire Cooling Racks
Let’s Get Tie-Dyeing!
-
Workspace Set-up
Start by locating the workspace of your project. Tie-dye can be messy, so outdoors, in the garage, or on a craft table, we suggest arranging garbage bags or plastic sheeting!
-
Prepare The T-Shirt
I would suggest a cotton t-shirt for tie-dye because it will be better absorbed! Then, soak the shirt in lukewarm water, wring the excess out, and lay it flat.
Additional Method: For greater absorption of colour, soak the T-shirt in soda ash (sodium carbonate). Soda ash should be included with your tie-dye kit! Then, then soak your T-shirt with warm water for several minutes.
-
Mix The Colours
Next, you should follow the tie-dye kit instruction and mix the colours! Make sure to mix the colours with warm water and shake them!

-
Finding Desired Designs
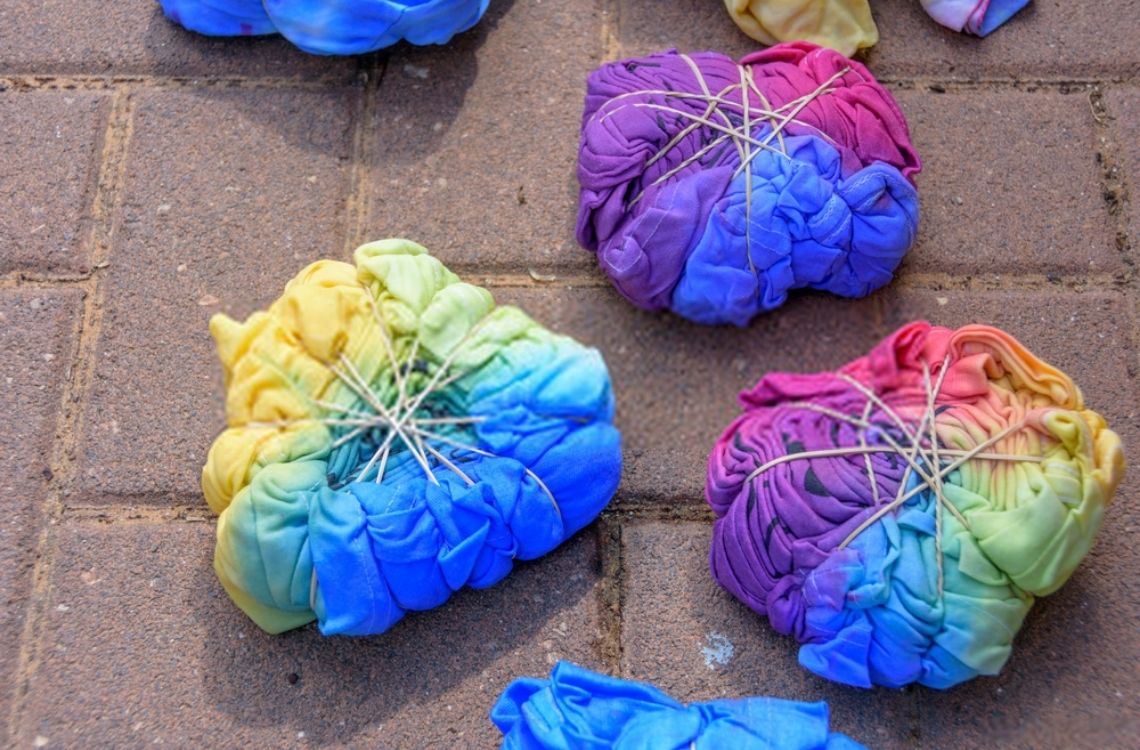
Then fold your cloths and band them together! This is the step that will determine the design of the shirt.
You need to fold your shirt and band it according to your desired designs! Few of the popular designs are Bull’s Eyes, Spiral, Sunburst, Shibori and many others!
Now, let’s tie-dye the shirt! Follow the design of your choice by squirting a spray bottle of dye onto the shirt.
Make sure that only one colour is added at a time. First with lighter colours (pink, purple, lime green, etc.) and layer with darker colours above it!
-
You’re Almost There!
Finally, you need to leave it to dry. Place it in a plastic bag with the rubber-banded shirt or cover it with a plastic wrap.
Let it sit for 12-24 hours, so that the colours are set! You may even take it out earlier to achieve pastel-like colours.
Last but not least, unwrap the shirt and cut the rubber bands (wear gloves!).
Before the run-off is clear, rinse it in cold water. Then, wash it in the washing machine with cold water.
Most importantly, do not put any other clothes in the machine. Clean your shirt and they are happy to wear it!
Tie-dyeing takes a little time and preparation work, but the end result is beautifully coloured and trendy masterpieces made by your children.
Your children will confidently show off their hard work and proudly wear it. Hopefully, you will have a blast with your children!
