
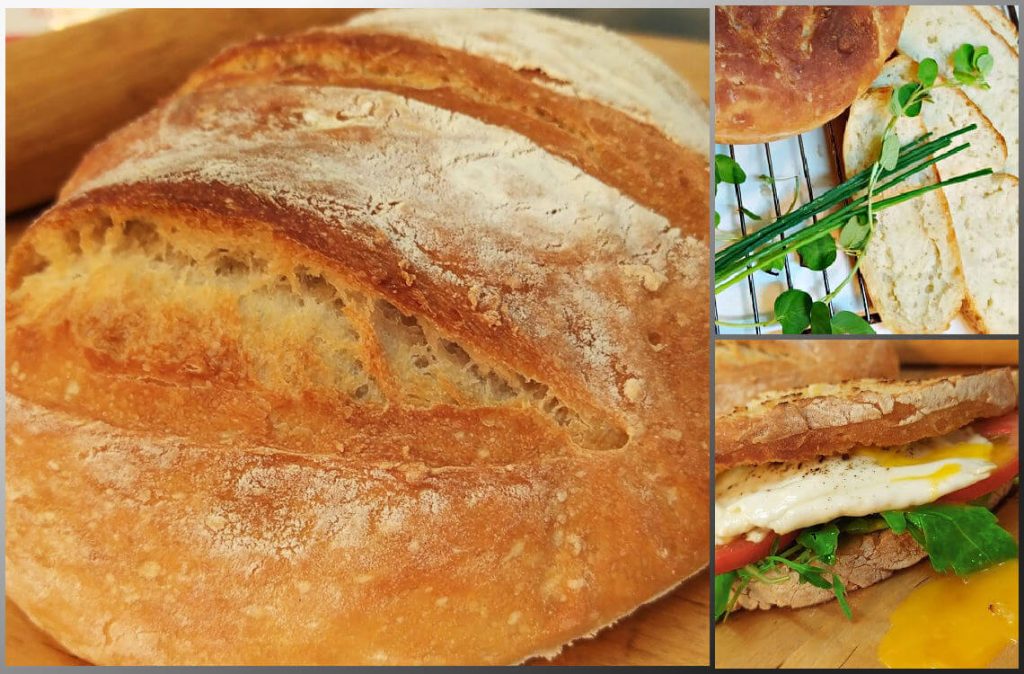
Artisan bread is so simple to bake! Even if you’ve never handled dough or yeast before in your life, you couldn’t go wrong with this bread. In no time at all, you could be a successful baker and think of the kids, too! They’ll love this crusty, chewy, nutritious, filling and fulfilling, sourdough-like Artisan Bread made lovingly by mum herself! It’ll be a proud moment.
You won’t need to knead anything. You can shape it any way you want. You won’t need special pans and molds or stand mixers and equipment; it can be baked so long as you have an oven. You won’t even need much effort and time ─ just 5 minutes of hands-on activity and in 3 hours ─ Viola! You’ll have your gorgeous loaf. Best of all ─ you won’t need to spend much because it is made with only four inexpensive ingredients: 1) Flour 2) Salt 3) Water 4) Yeast.
Why is it called Artisan Bread?

And just in case you want to know why it’s called Artisan Bread, here’s an explanation:
The term “artisan” is used to describe food produced by non-industrialised methods, often handed down through generations but now in danger of being lost. Tastes and processes, such as fermentation, are allowed to develop slowly and naturally, rather than curtailed for mass-production.
The term Artisan Bread conjures the image of artisan bakers who are masters of their craft, shaping breads by hand and only using the basic bread ingredients. Flour, water, salt and yeast are the key ingredients of most artisan breads—and a lack of chemical additives in its ingredients list is a sign that it is truly artisan.
How to Enjoy Artisan Bread ─ Here’s One Way
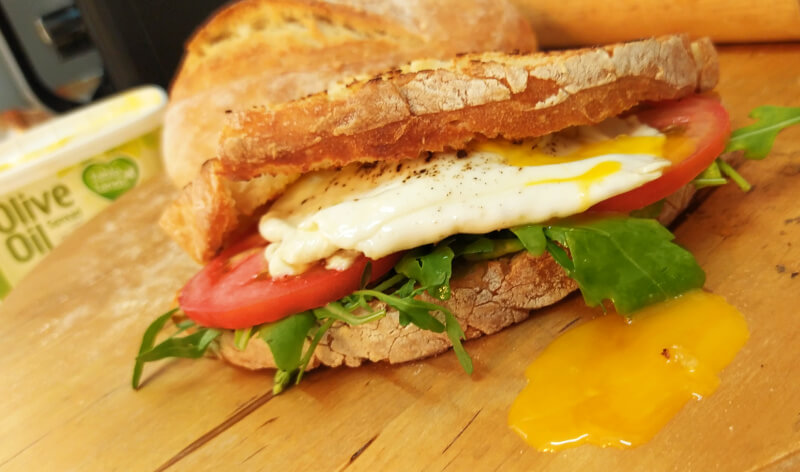
There are a hundred ways to enjoy Artisan Bread—you can use it to mop up gravy, soup or curry, you can eat it with butter and kaya, eat it “nekkid” or build it up with running yolk like so!

So without further ado…let’s jump straight in!
Recipe for You Homemade Artisan Bread
Ingredients: Only 4 Required
1.Bread Flour or All-Purpose Flour or Wheat Flour: 3 Cups or 450gm
Bread Flour is the best flour to make your Artisan Bread with although you can use any type of flour, even All-Purpose Flour, if you can’t find bread flour. Bread flour in Malaysia is known as Hi-Protein flour or simply Tepung Roti, and it will give you the holey, chewy consistency akin to sourdough bread. But hey, if it’s not stocked in your nearest grocery store, don’t sweat it. Use Wheat Flour/Tepung Gandum like we did! It will yield a denser, heavier bread without so many holes as compared to a Bread Flour- made Artisan loaf, but it will still turn out and look and taste just as awesome!
2. Instant Yeast: 1/2 teaspoon
The other magic ingredient is Instant Yeast. Actually any yeast such as Dry Yeast will also do because Artisan Bread is so forgiving. It’s just that using Instant Yeast saves you the extra step of first having to dissolve the dry yeast in water. So if you want to save any miniscule effort in making the bread, get Instant Yeast. A box with many sachets inside costs just RM2.00 to RM4.00.
3.Very Warm Water: 1.5 Cups or 375ml
Use Very Warm Water (but not boiling water) because warmth will help the yeast work faster, especially if you are thinking of baking the bread as soon as the dough has risen, and that’s in three hours.
4. Coarse Salt: 1 teaspoon
Use Himalayan Rock Salt or plain Coarse Sea Salt because it will give the bread better oomph than fine table salt.
Utensils You Will Need
A large mixing bowl, spatula, bread scraper, measuring cups, sieve
Method

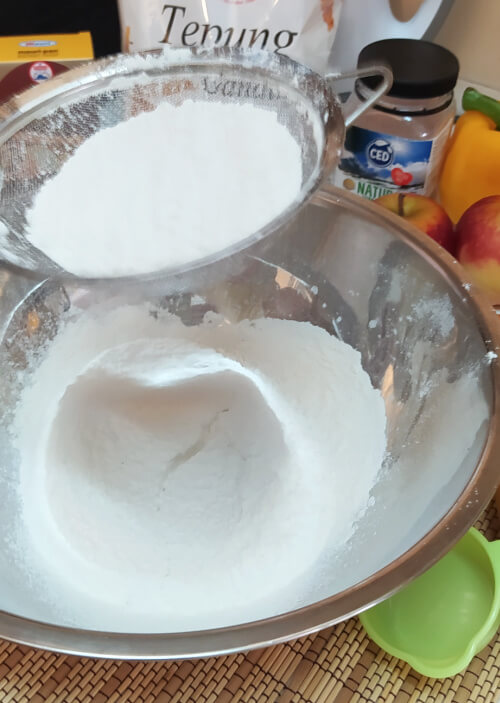
(A) Sieve in 3 cups of flour into large mixing bowl.

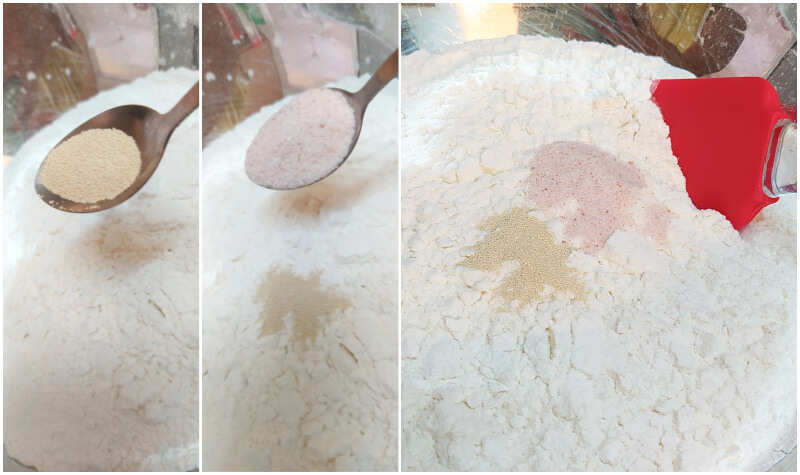
(B) Add in 1/2 teaspoon of instant yeast, 1 teaspoon of salt to flour and combine.

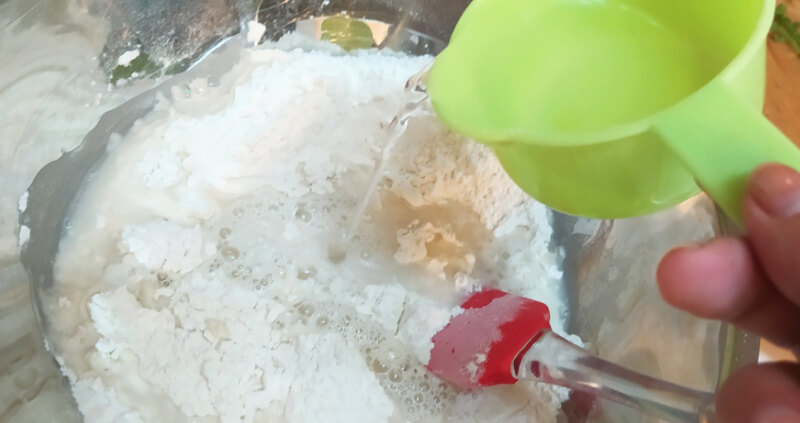
(C) Add 1 and 1/2 cups of very warm water (not hot or boiling) to dry ingredients.

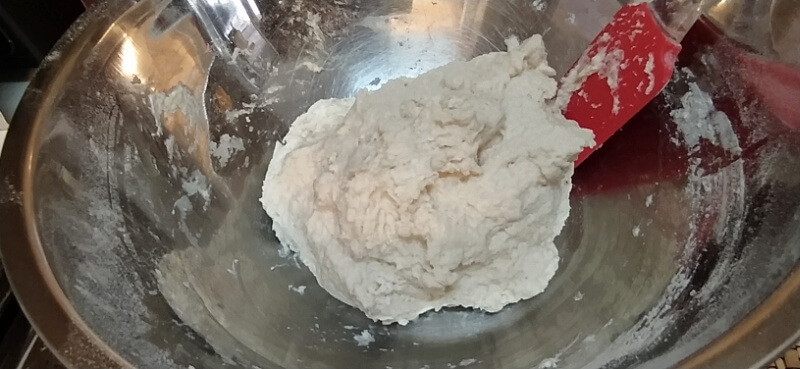
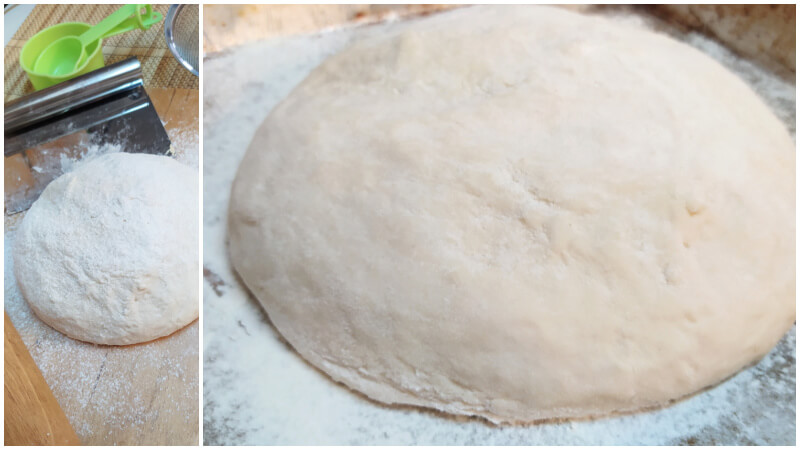
(D) Combine all ingredients until it achieves a wet, sticky consistency. No need to overmix. It should be loose and wobbly.
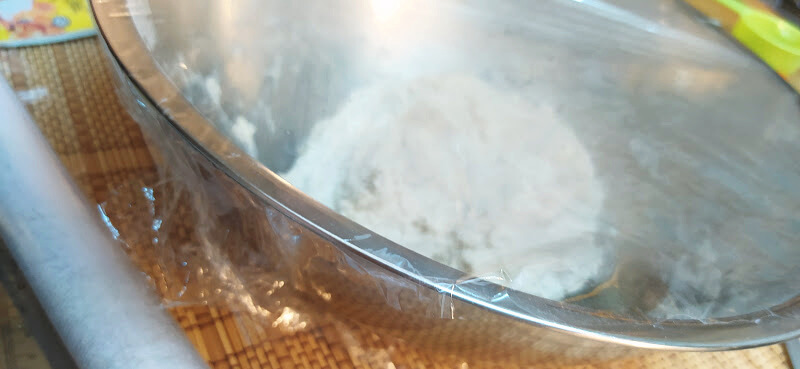
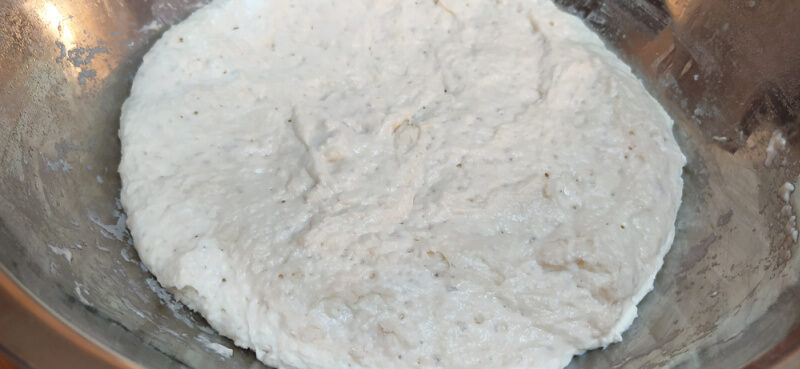
(E) Cover with a towel or saran wrap and let dough rest for 3 hours in a dark, warm place. After 3 hours, the dough should have risen and doubled in size.
Tip: One of the nicest things about making Artisan Bread dough is that you don’t have to bake immediately if you don’t want to. You can have the dough pre-prepared and refrigerated for up to 3 days! Yes! Bake anytime in between when you are free. In fact, the longer you let the dough ferment in the refrigerator, the tastier your eventual work of art will be when it’s baked.
If you have refrigerated the dough and would now like to bake, leave the bowl on the counter at room temperature for at least an hour before baking. Cold dough will not rise as well.
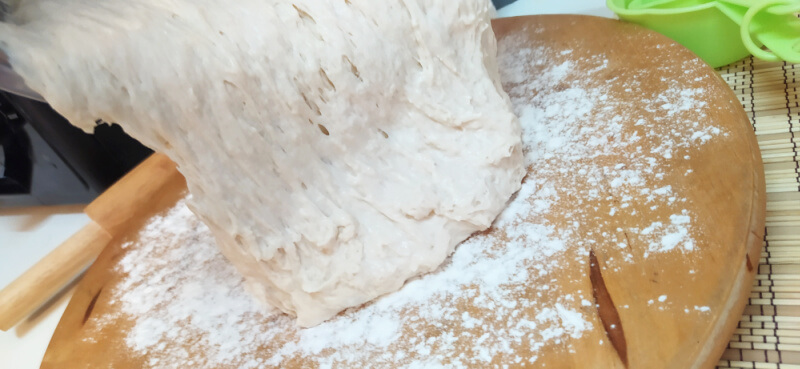
(F) Lightly flour a flat, clean surface and pour dough out. You can pour it on baking paper but if you don’t have it, any flat surface will do. Preheat oven to 230 degrees Celsius.

(G) Use your bread scraper to fold the corners of the dough into a round shape. Don’t worry if it is not perfectly round. Place the dough on a floured pan. If you have shaped the dough on baking paper, you can lift the whole sheet and place the whole thing on to the pan. If baking paper is not used, use your bread scraper to lift the dough and place it on the pan.
Note 1: Normally, a Dutch oven or heavy metal pot with a tight fitting lid is used in baking Artisan Bread but if you don’t have one, you can place the dough on any pan. Your bread will still be baked as intended.
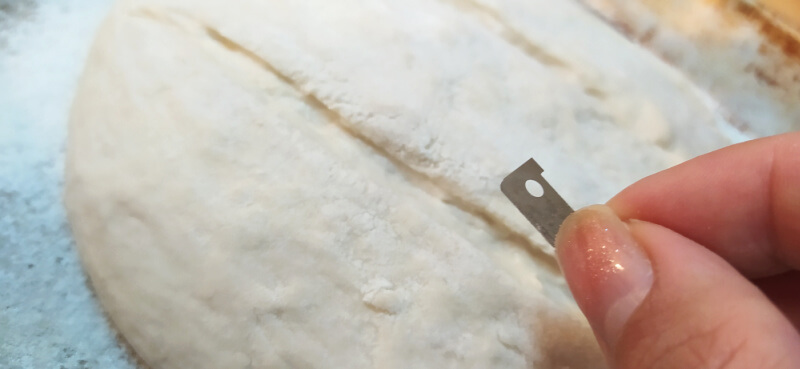
(H) With a very sharp knife or a blade, create 3 slashes on the top surface of the dough, making sure the slashes are at least 1/2 centimeters deep.
(I) While the oven is preheating, cover the dough and let it rest for at least 15 minutes.

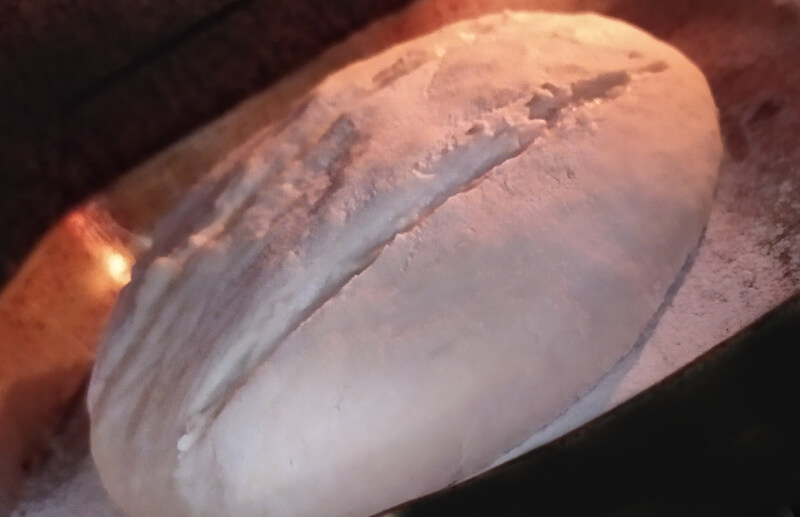
(J) Once the oven is hot enough, place your dough in the oven on the middle rack. At the bottom, fill a pan with very hot or boiling water. This will create steam to rise through the dough as it bakes, creating a baked but steamed bread at the same time.
Note 2: If you are using a Dutch oven instead, close the lid and place the whole pot into the oven. You will then not need to place a pan of boiling water as the tightly closed lid of the pot will create the steam in itself.
Bake for 30 minutes.


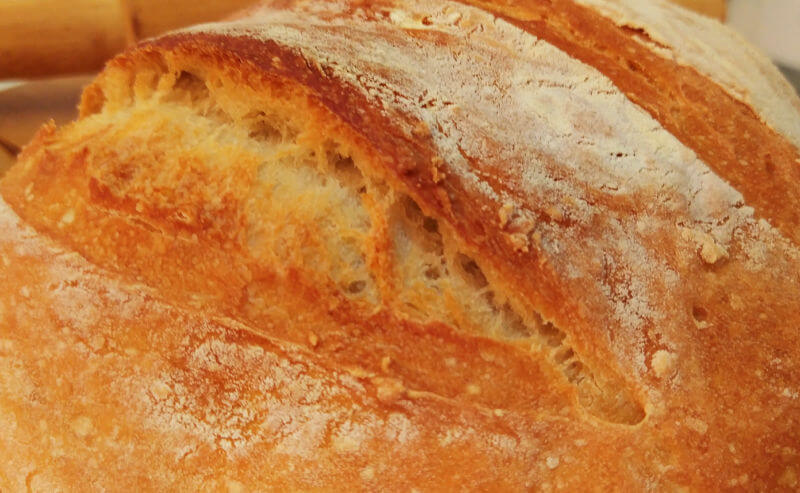
(K) After 30 minutes, your bread should look like this. Pop it back into the oven and bake it for an additional 5 to 10 minutes depending on how dark and how crispy you want the outer layer to be.

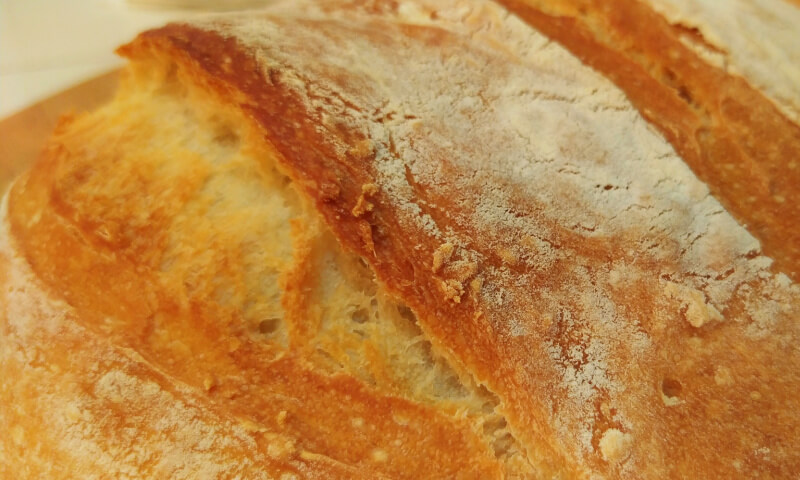
(L) And here’s the end result! Nicely browned and crunchy. Cool on the rack for 10 minutes before slicing to enjoy it!

*Recipe and All Images and Video Courtesy of Melissa-Jane.
And there you have it! For more easy and exciting recipes like this, always refer to Motherhood.com.my.